It’s easier than you might think to transform a piece of used furniture from old and tired to new and fabulous. Lima ReStore volunteer Eboni Edmondson did just that with a pair of used chairs that she picked up at the ReStore.This is a perfect weekend project that produces impressive results!
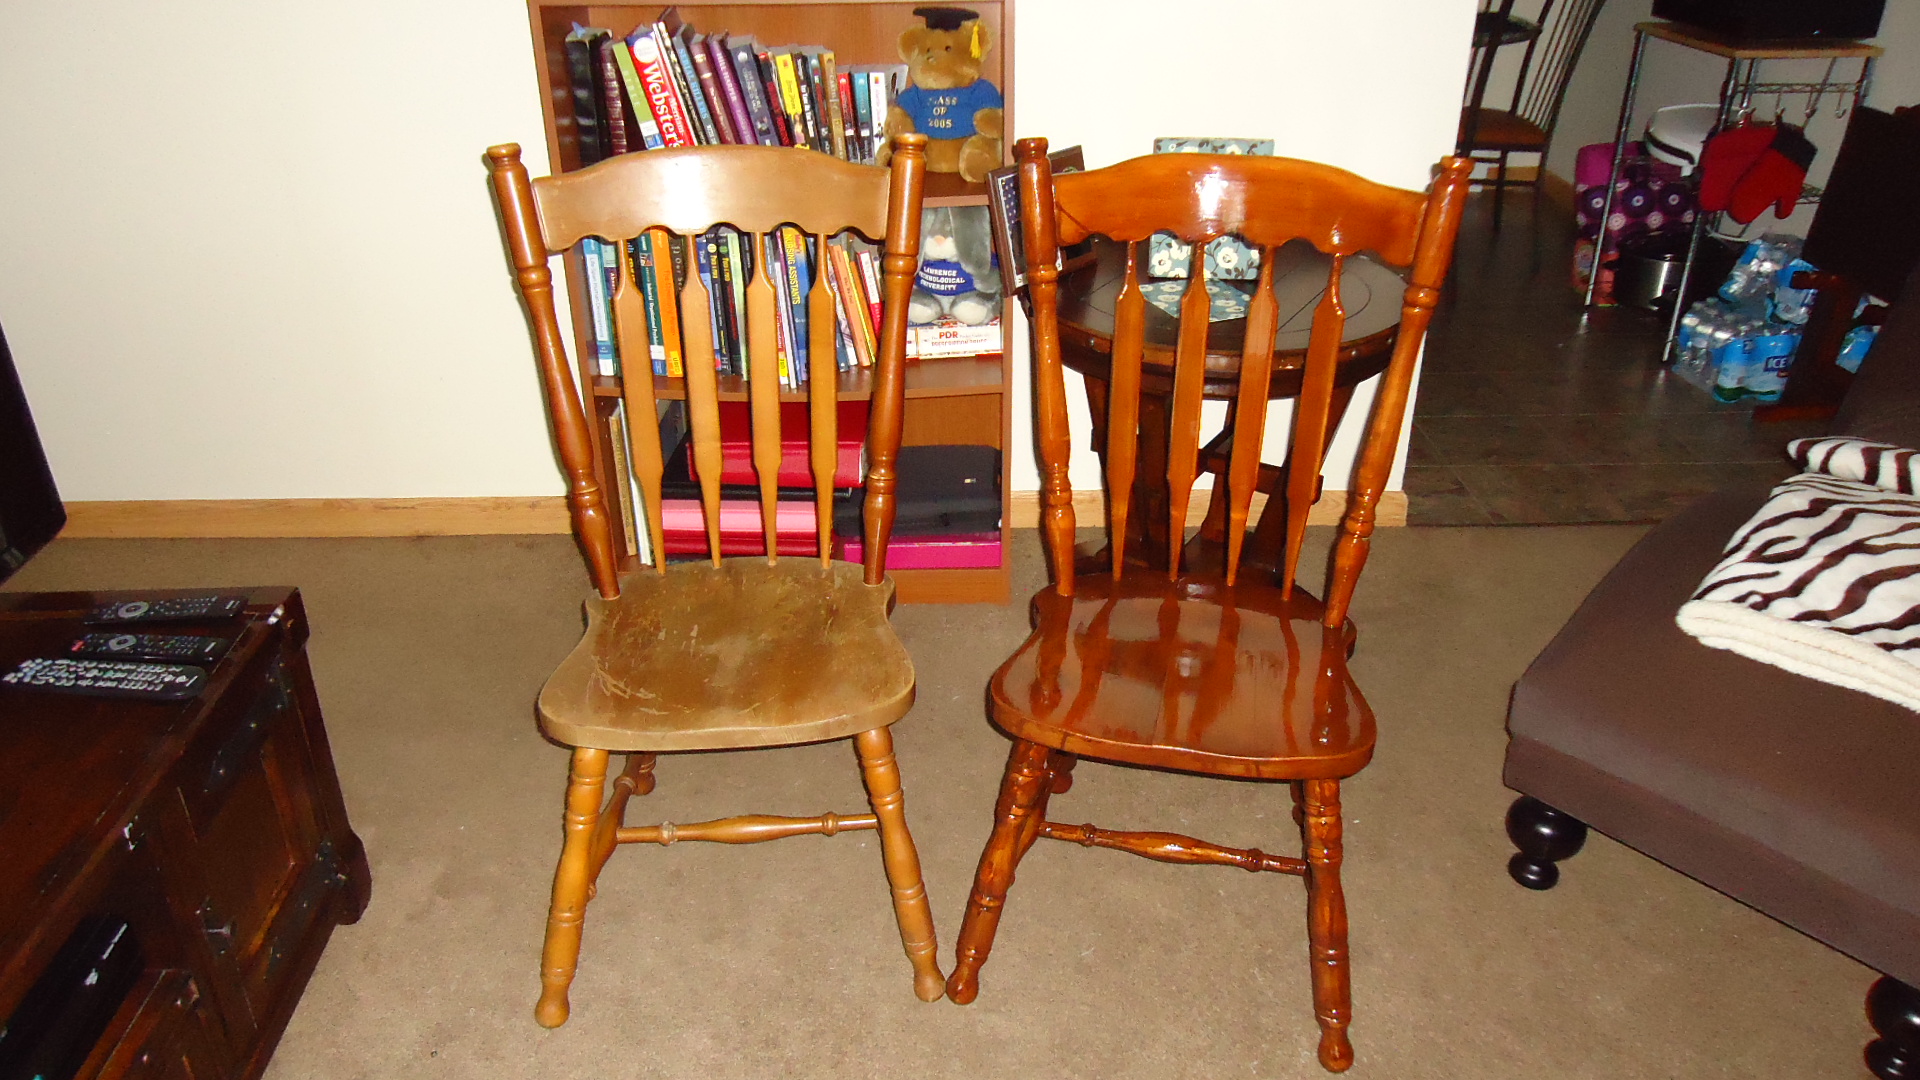
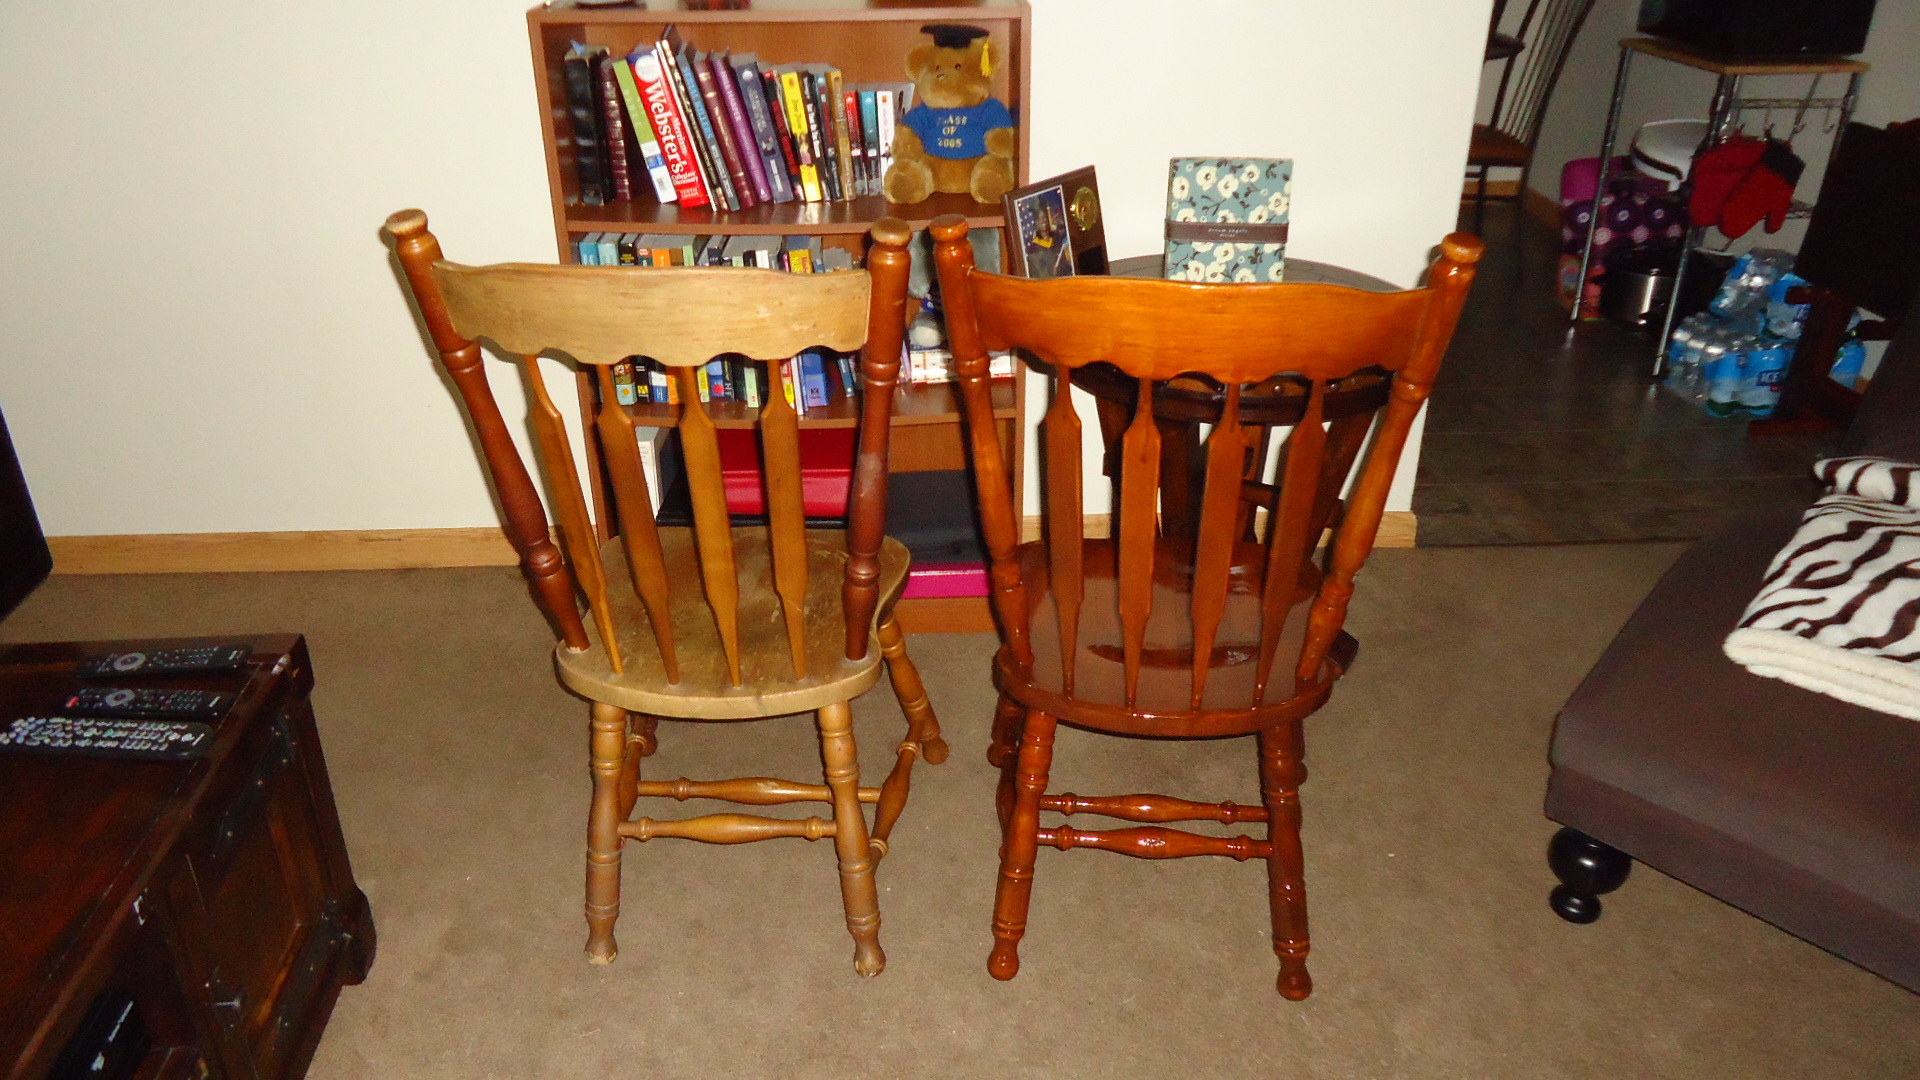
First, Eboni found two chairs that were solid wood but had some cosmetic issues. They were reasonably priced at the ReStore so she could justify spending a little time and money for supplies.
Eboni’s chairs before and after!
Supplies:
- Safety Glasses
- Mask
- Gloves for sanding
- Soft Bristle Paint Brush (for Oil Based Paints and Staining)
- 180 Grain Sandpaper
- 220 Grain Sandpaper
- MinWax Polyshades Stain & Polyurethane in 1 step (Color: Antique Walnut-Gloss)
Processs:Eboni started by sanding the chairs with 180 grain sand paper. She sanded until all parts of the chair were even, smooth (chip free), and all the shine finish was off. Her goal was to get as close to the natural wood state as possible without take all of the original wood stain color away. This process took about 20-30 minutes per chair.
Then, she went back over the chairs with a 220 grain sand paper to smooth the surface for staining.
Next, she began the staining process. Eboni did the chairs in a two stage process. First, she gave the chair a light coat of the polyurethane stain to let the color soak in. This coat was allowed to completely dry for a day. The next day she went back over the chair with a second coat. She did the top of the chair first (let the coat dry), then did the bottom part of the chair. The stain she used dries pretty fast, so she made this coat thicker to get to the shade she was looking for.
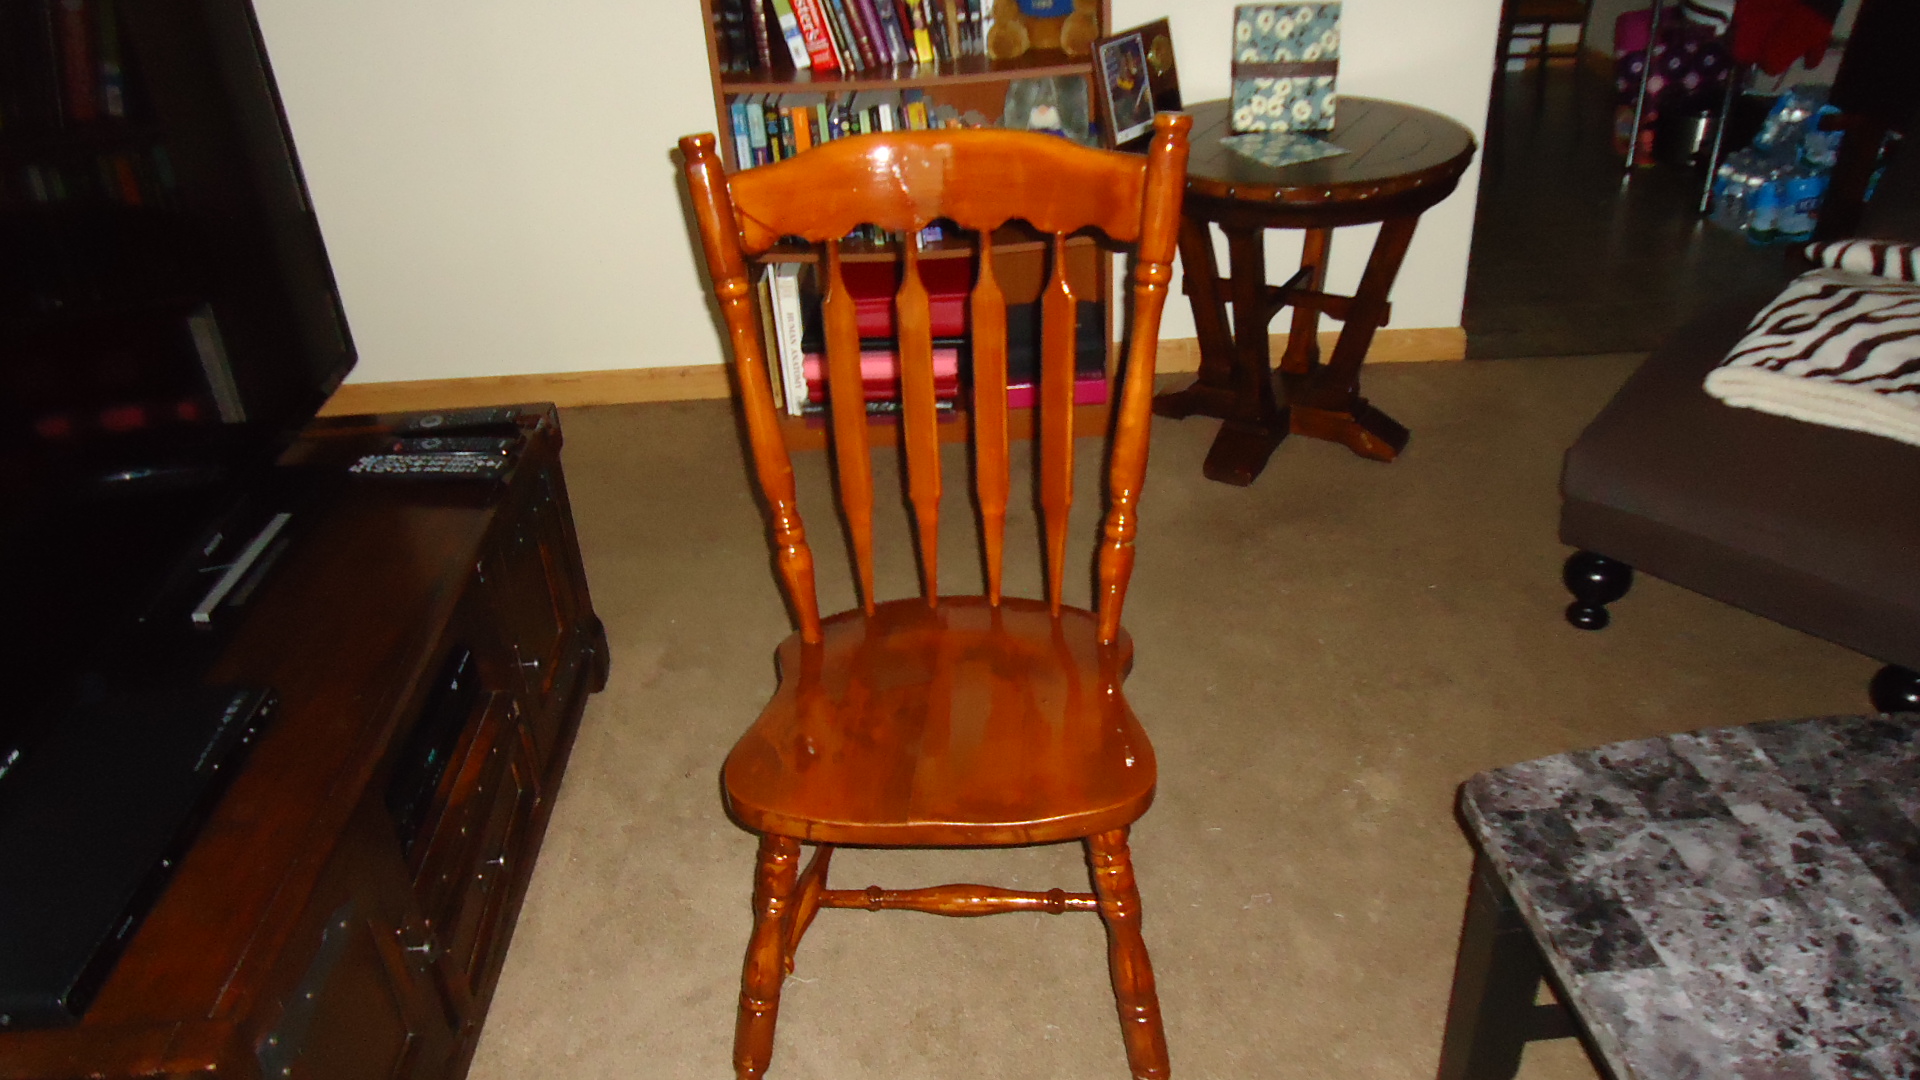
In the end, Eboni has chairs that look fantastic, were easy on her budget and give her the satisfaction of a job well done!